Using External Midi Instruments in Logic Pro
Aug 01, 2024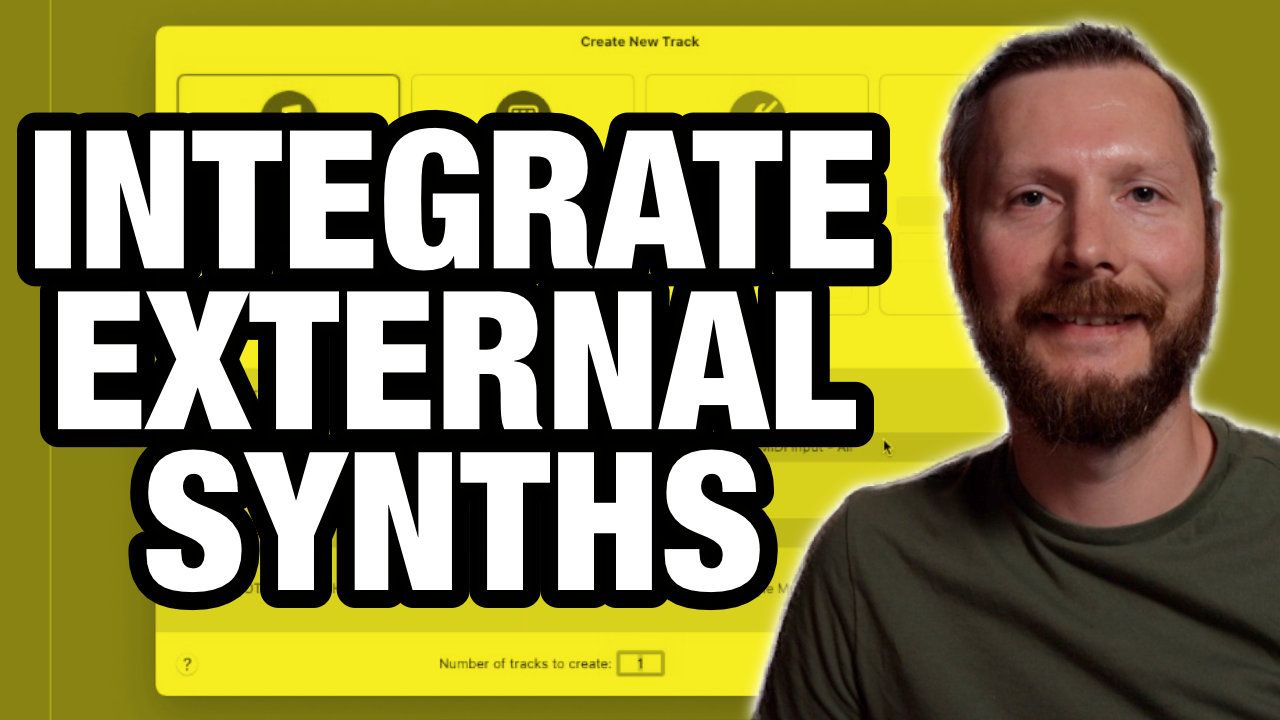
Hello and welcome! My name is Georges, and my blog is all about helping you get the most out of Logic Pro so that you can record and produce your best music in your home studio. Today, we’re diving into how to use external MIDI instruments, like keyboards and synths, in your Logic Pro projects. Whether you have a collection of beloved synths or keyboards with unique sounds, bringing them into your Logic Pro workflow can really elevate your music production. Let’s jump right in!
Setting Up External MIDI Instruments
The first thing you need to do is create a new track in Logic Pro. Instead of choosing a software instrument as you would for built-in sounds, you'll want to select "External MIDI." This option allows Logic Pro to send MIDI information to and from your external instruments.
Audio Input: Connect your keyboard or synth’s audio output to your audio interface.
MIDI Destination: Select your external instrument, like the Nord Electro in our example, as the MIDI destination. This setup will allow Logic Pro to send MIDI signals to your keyboard, and the keyboard will send audio back into Logic Pro. If your instrument supports USB MIDI, use that for a simple setup. Otherwise, you'll need to connect using traditional MIDI cables. Make sure the MIDI in and out are correctly connected between your instrument and your interface.
Fine-Tuning Your Setup
After creating your external MIDI track, an External Instrument plugin will appear. Here, you can adjust any initial setup choices, such as the MIDI destination, MIDI channel, and audio input. I recommend enabling "Auto Compensate Latency" to minimize any timing issues caused by the round-trip signal path between your hardware and Logic Pro.
You can also use the "Send Program Change" option to switch patches on your keyboard directly from Logic Pro, which is super convenient if you want to automate patch changes or simply prefer to manage everything from your DAW.
Recording and Editing MIDI
Once everything is set up, you can start recording MIDI data. The advantage of recording MIDI instead of audio is that it allows for extensive post-recording editing. You can move notes around, quantize them, or even completely change the sound by switching patches on your synth.
For example, if you’ve recorded a piano sound from your external keyboard but later decide a synth pad would work better, you can switch patches on your hardware without re-recording. This flexibility is one of the key benefits of using external MIDI instruments.
Converting MIDI to Audio
After you’re happy with your MIDI recording, it’s time to convert it to audio. There are a couple of ways to do this:
-
Bounce in Place: If you’re using Logic Pro 11, you can easily bounce your MIDI track to an audio file in real-time. Just right-click on the track region, select "Bounce and Join," and then choose "Bounce in Place." This will create a new audio track with your external instrument's sound.
-
Manual Recording: For earlier versions of Logic Pro, you’ll need to manually route your MIDI track to an audio track. Create a new audio track, set the input to a bus, and route the MIDI track’s output to that same bus. Then, record enable the audio track and press record. This will capture the audio from your external synth.
Final Thoughts
Using external synths and keyboards in Logic Pro is a fantastic way to expand your sonic palette. Whether you’re a fan of vintage hardware or just want to incorporate some unique sounds into your productions, this setup process will get you started. Remember, once you've recorded the MIDI you have a lot of freedom to mix, edit, and process the sounds to fit perfectly within your project.
TIMECODES:
00:00 Intro
00:37 Configuring an External Midi Track
01:55 Midi Connectivity
03:12 External Instrument Plugin
04:06 Recording External Midi 05:21Editing Midi
06:00 Changing Sounds
07:39 Send Program Change
08:13 Committing to Audio
12:30 Final Thoughts